

Onboarding takes a few minutes. You'll connect your WhatsApp Business number through Meta's secure flow, and once it's verified your AI assistant goes live. This guide walks you through every screen.
Before you start you’ll need an active FrontAssist account and a plan selected. If you don’t have a WhatsApp Business number yet, you can create one during this flow—or download the WhatsApp Business app and register your number first.
Connect WhatsApp
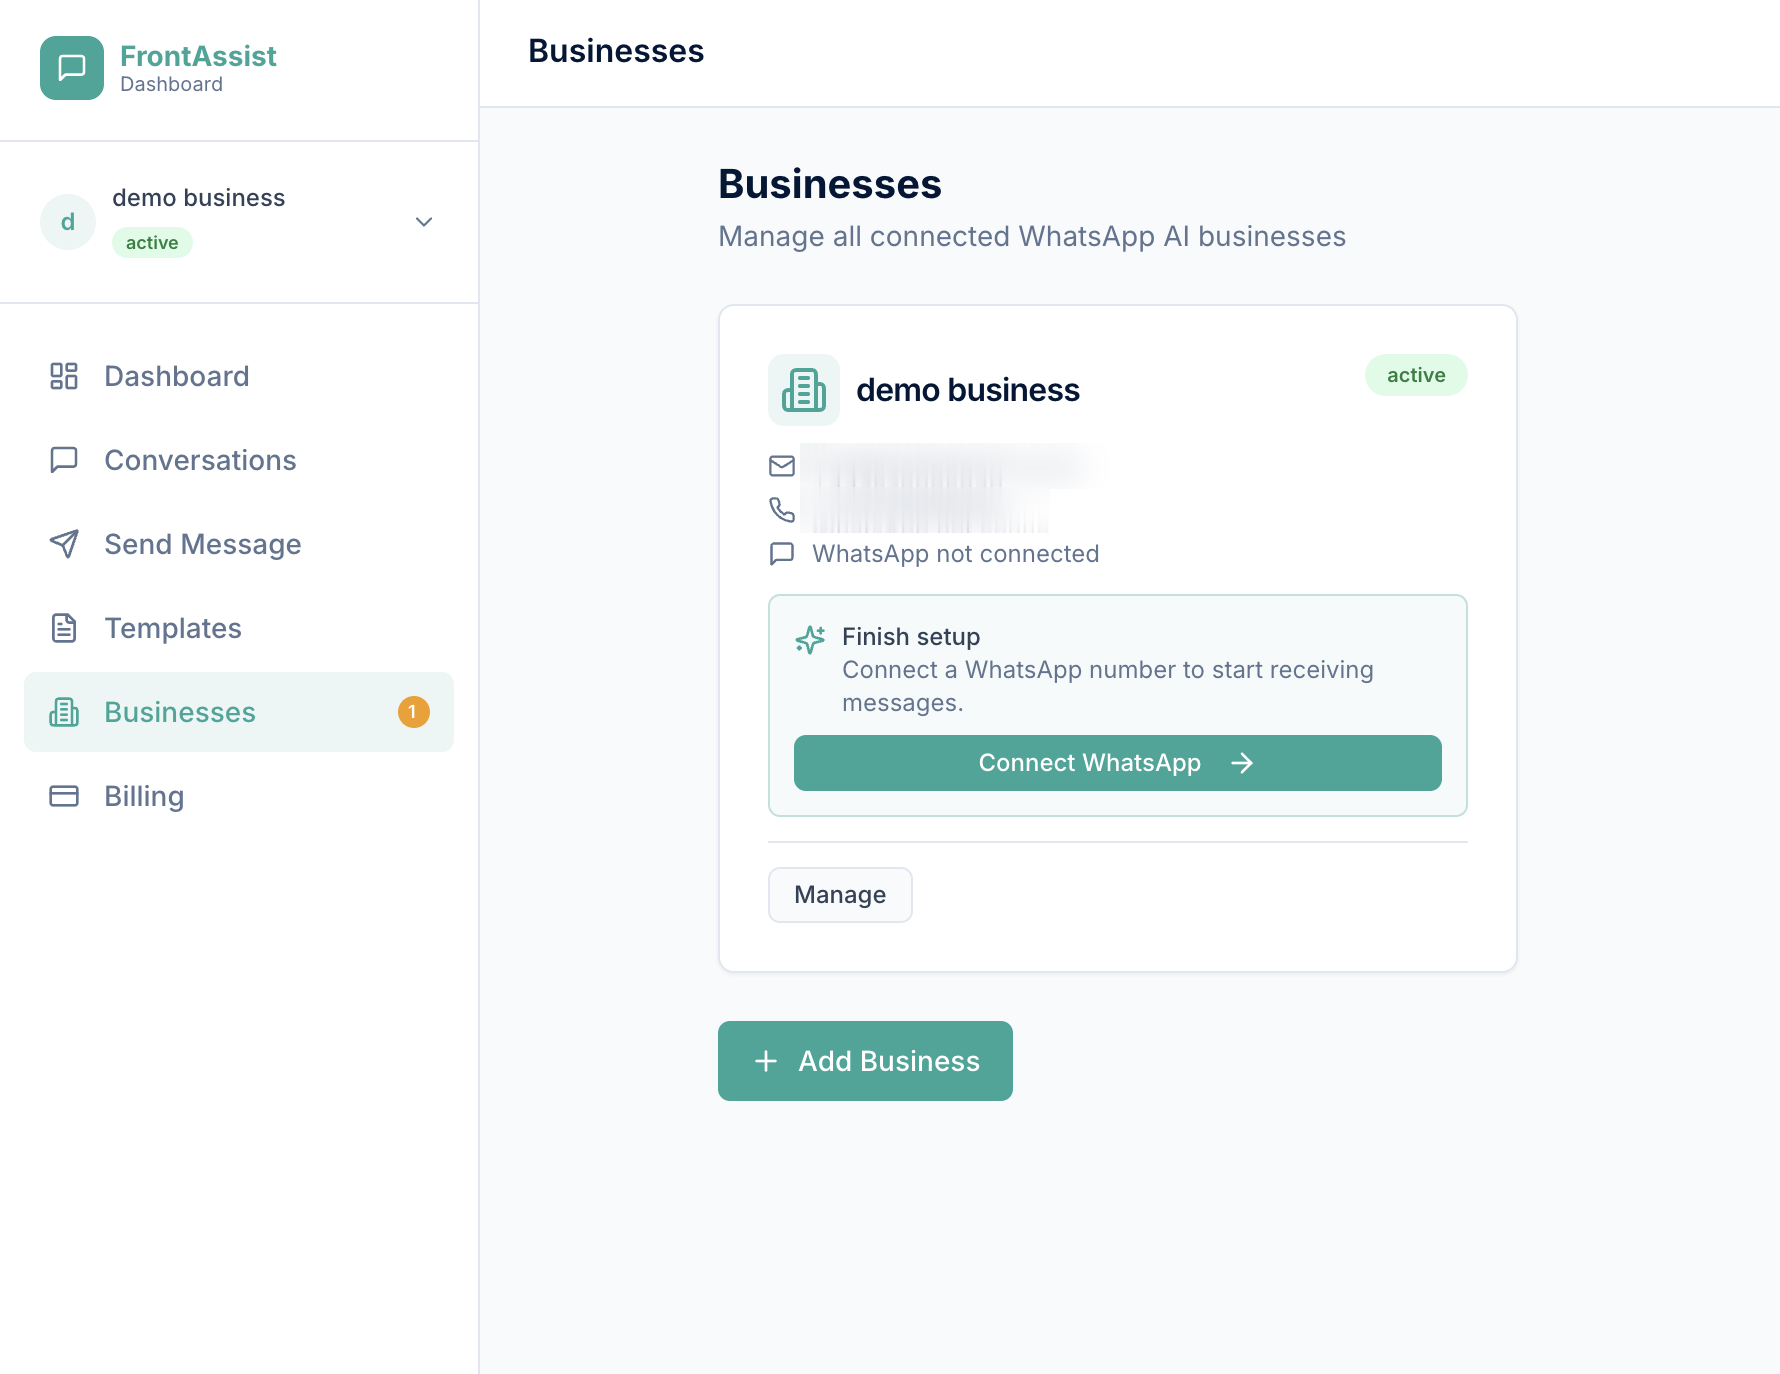
On the Businesses page, your new business shows WhatsApp not connected. Choose Connect WhatsApp to begin. It works with your existing WhatsApp Business number—you keep using the app, and we never see your phone’s PIN or two-step verification code.
Review and continue
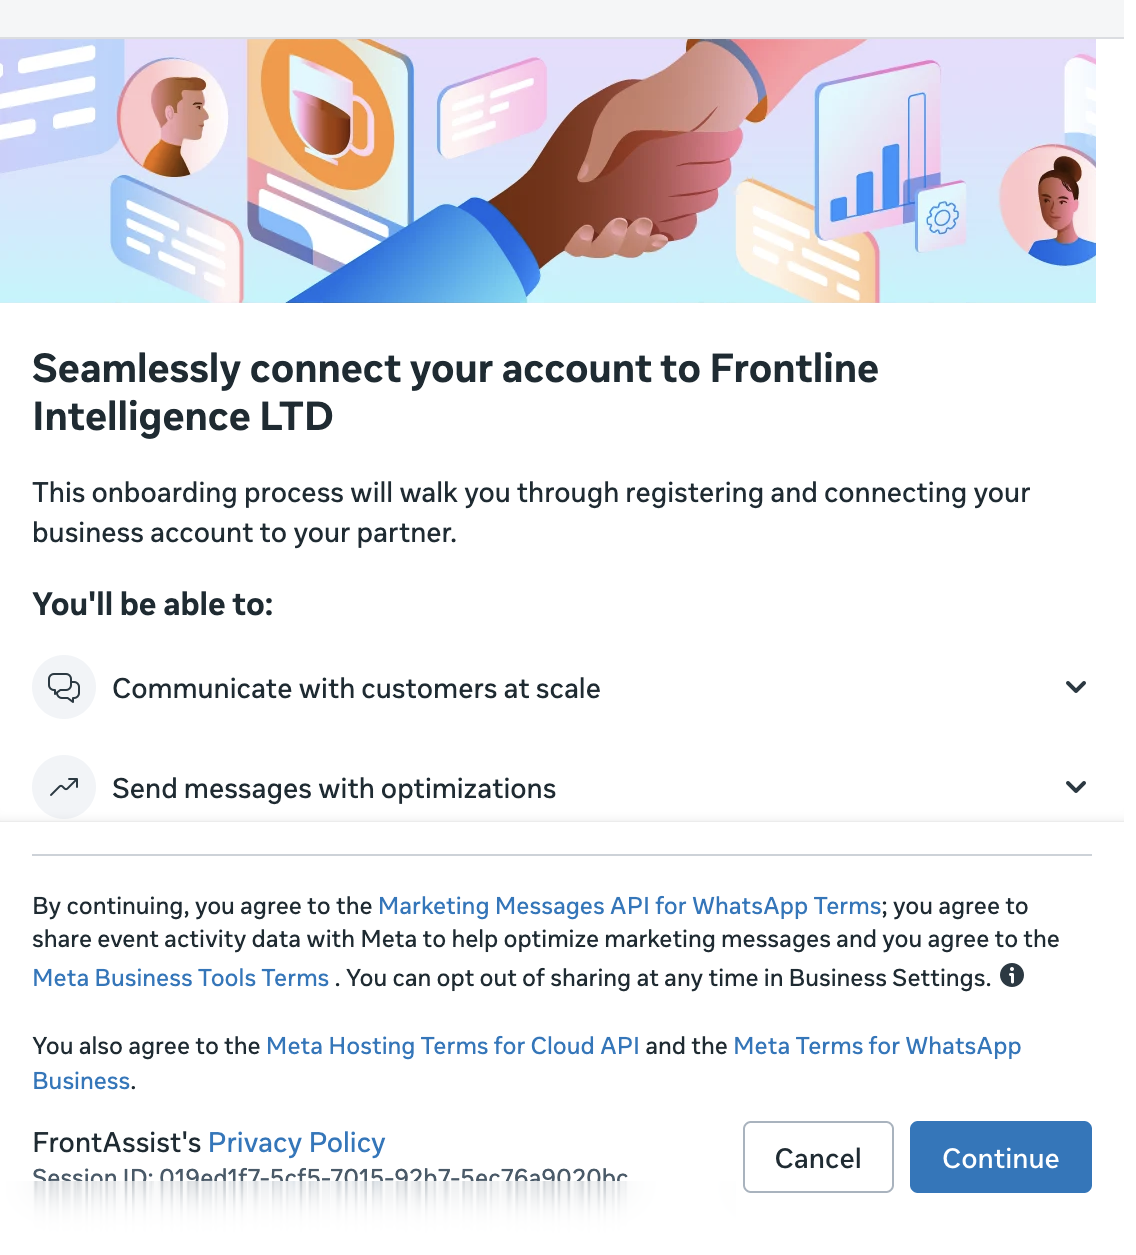
You’ll be handed to Meta’s secure onboarding. Review what you’re authorising and select Continue.
Choose your business
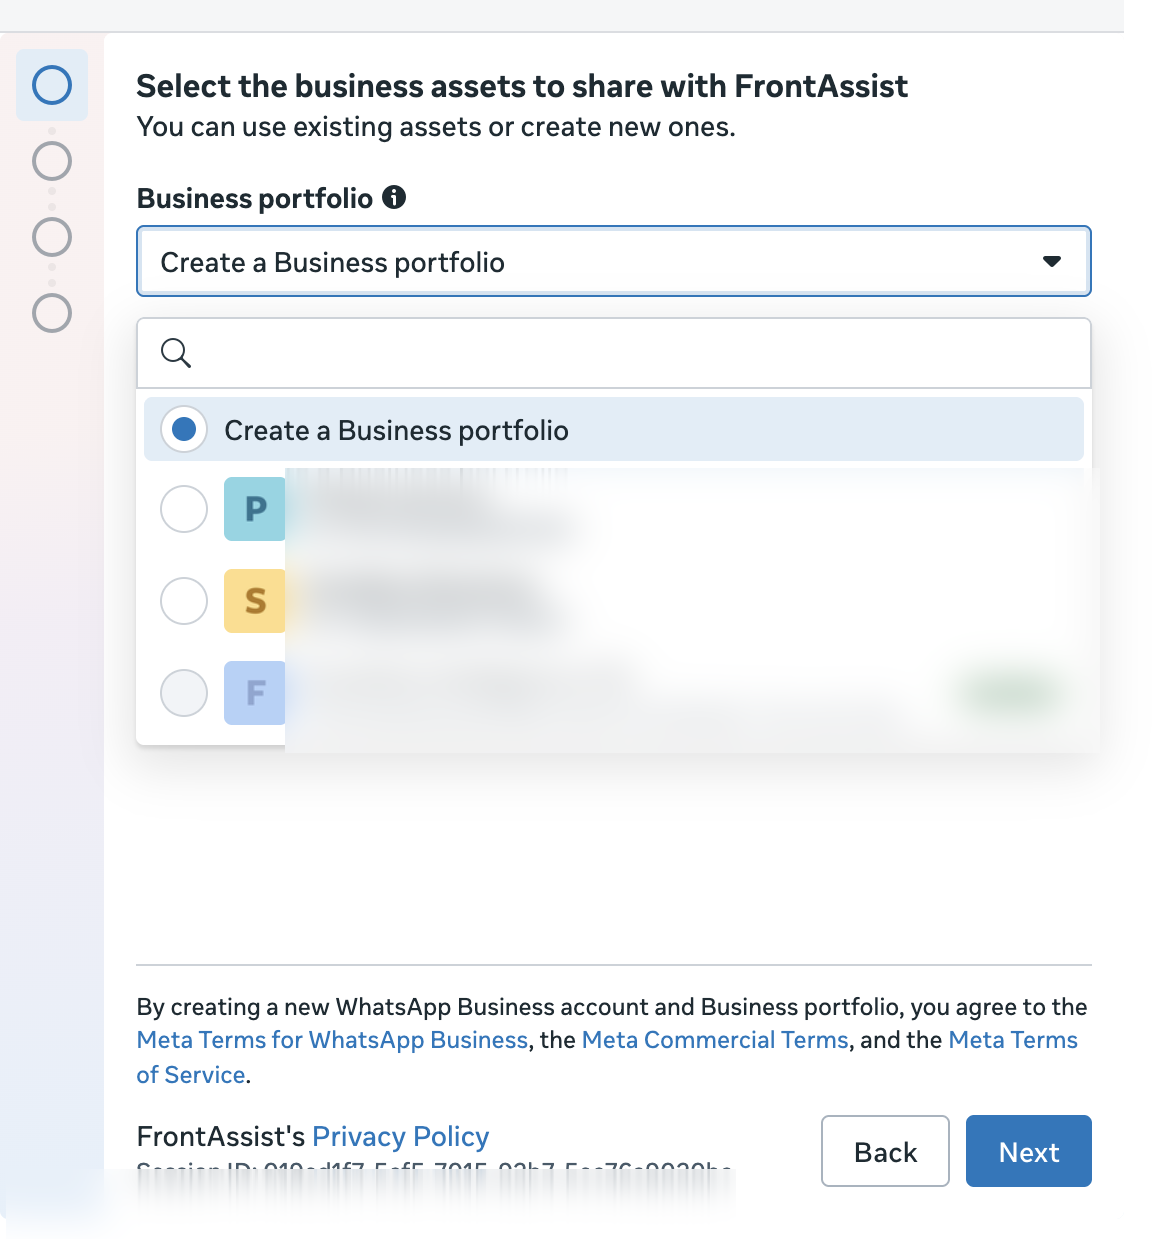
Select an existing business portfolio if you already have one, or choose Create a Business portfolio to make a new one.
Enter your business details
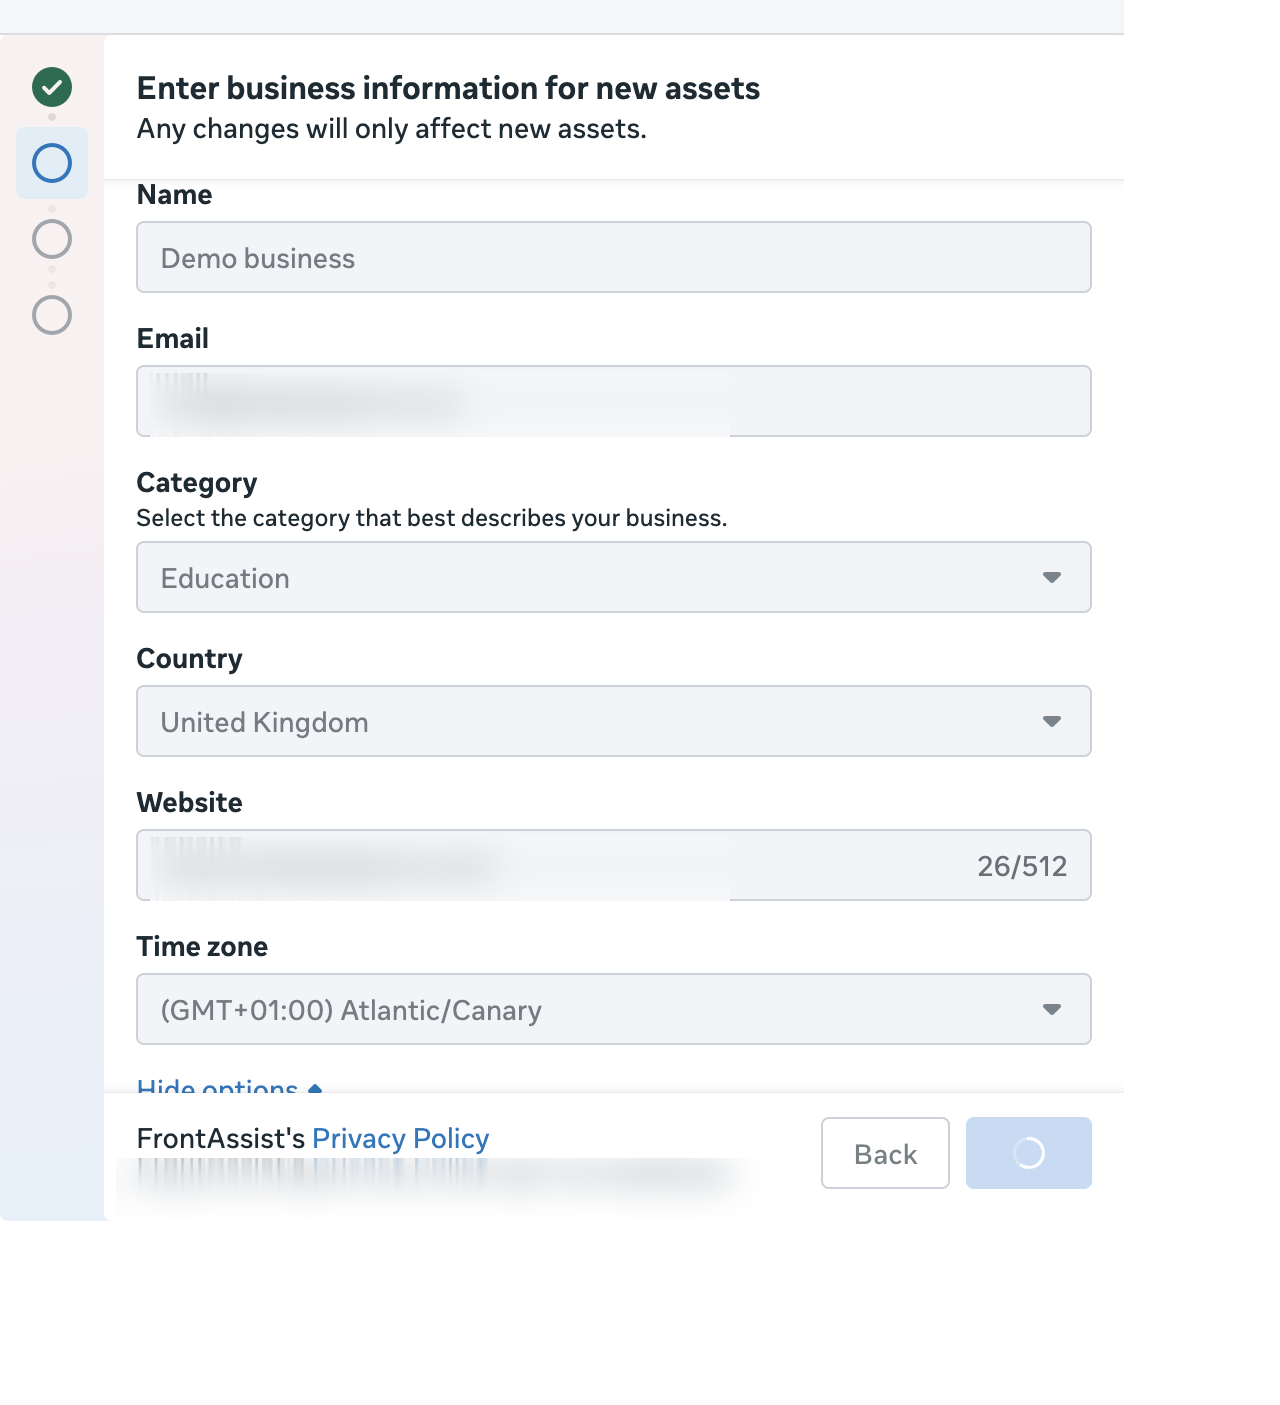
Fill in your business name, email, category, country, website and time zone. These describe your new WhatsApp assets.
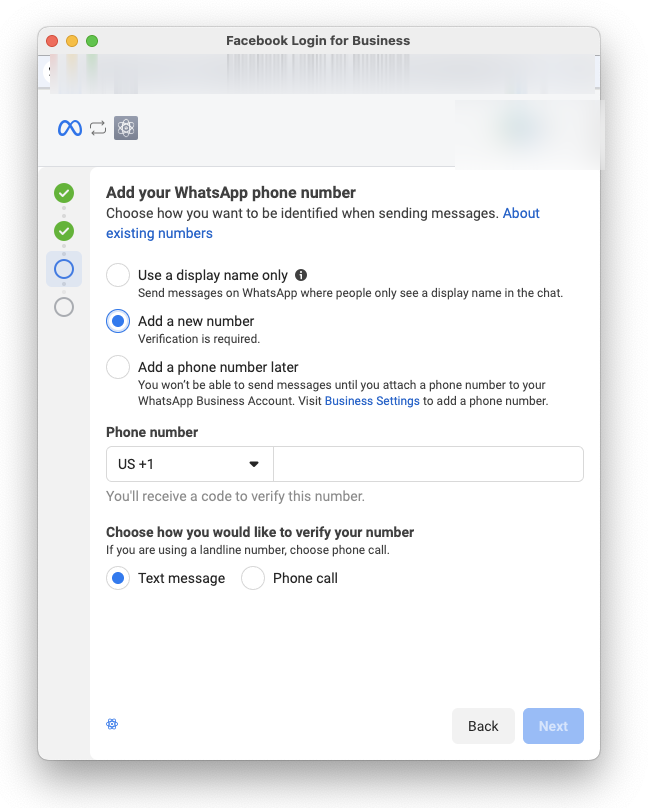
Add your WhatsApp number — choose how
Choose Add a new number (verification required).
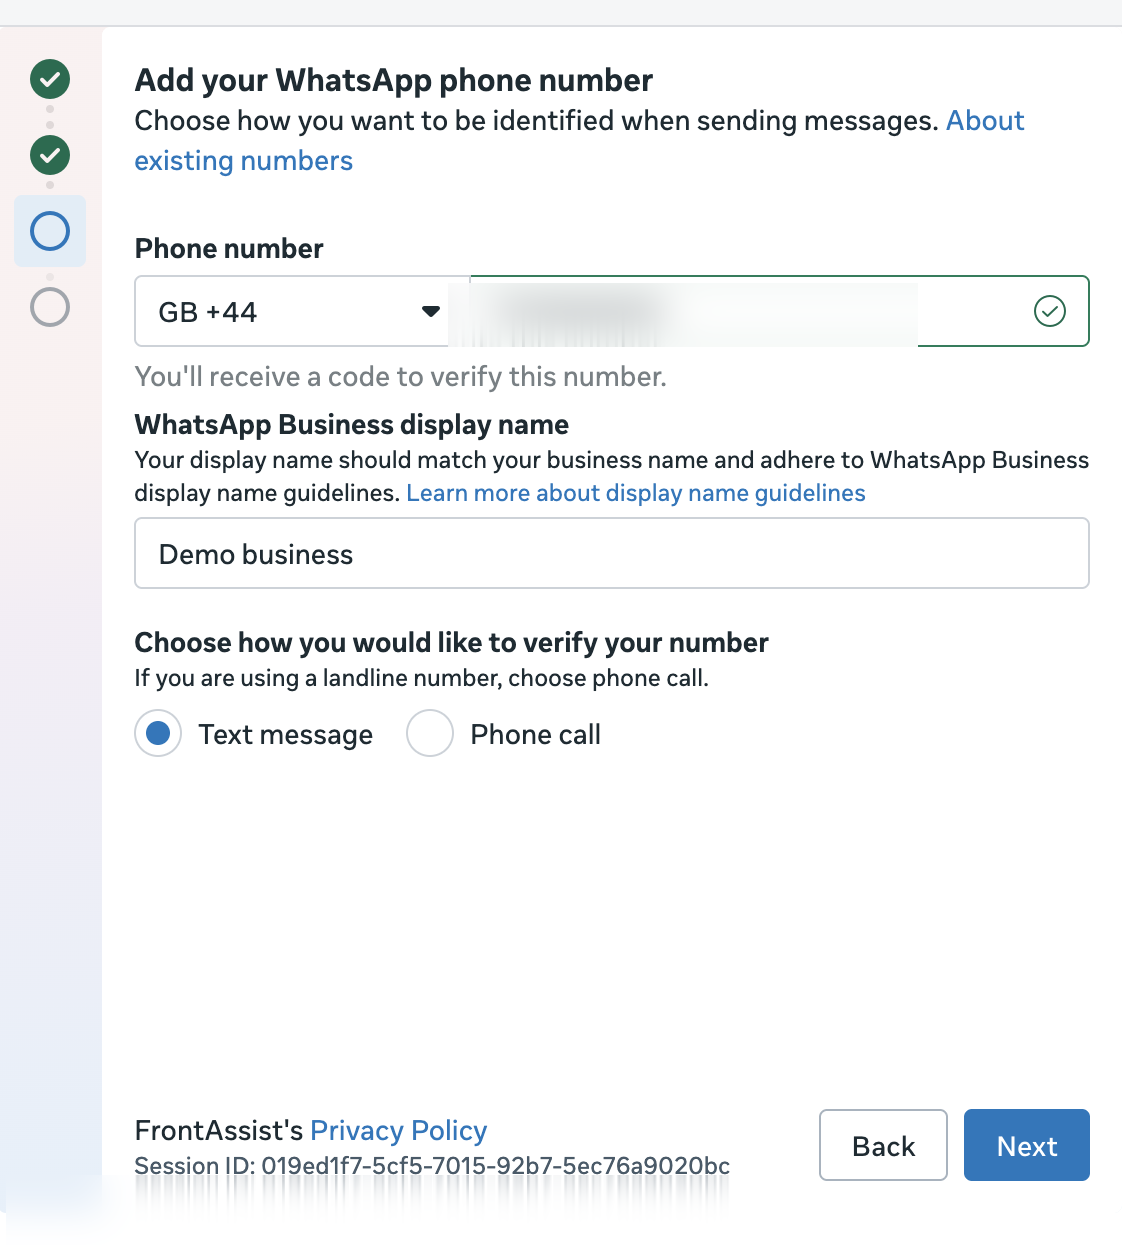
Enter and verify your number
Enter the number for your WhatsApp Business account, set the display name (it should match your business), and choose to receive your verification code by text message or phone call. Enter the code when it arrives.
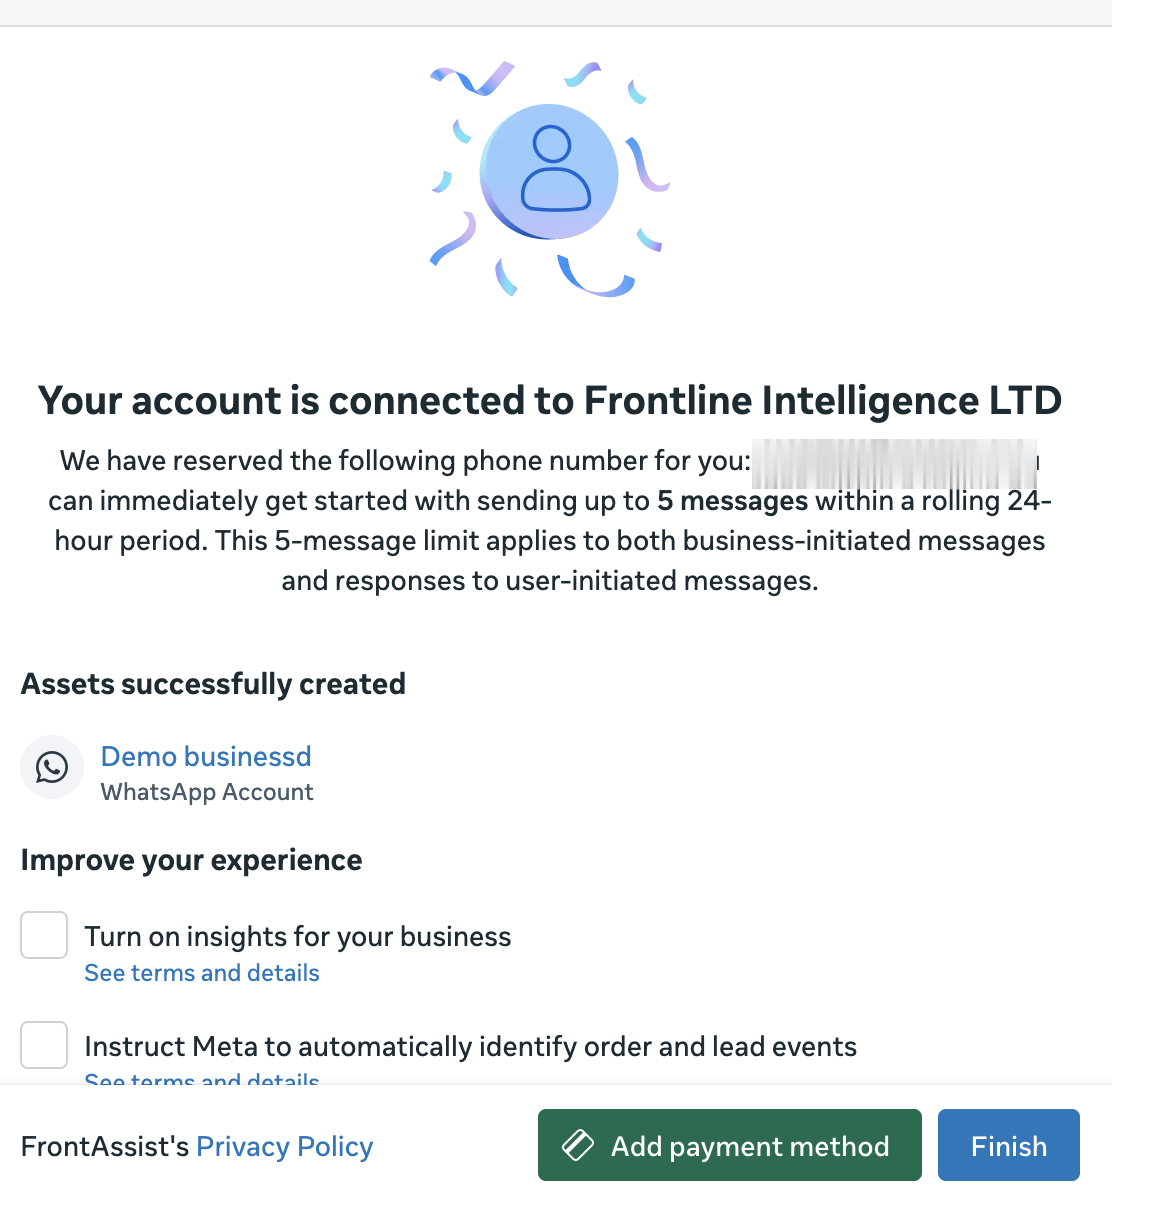
Confirm and finish
Meta confirms your account is connected and reserves your number. New numbers start with a small messaging allowance that grows as you use it. Select Finish.
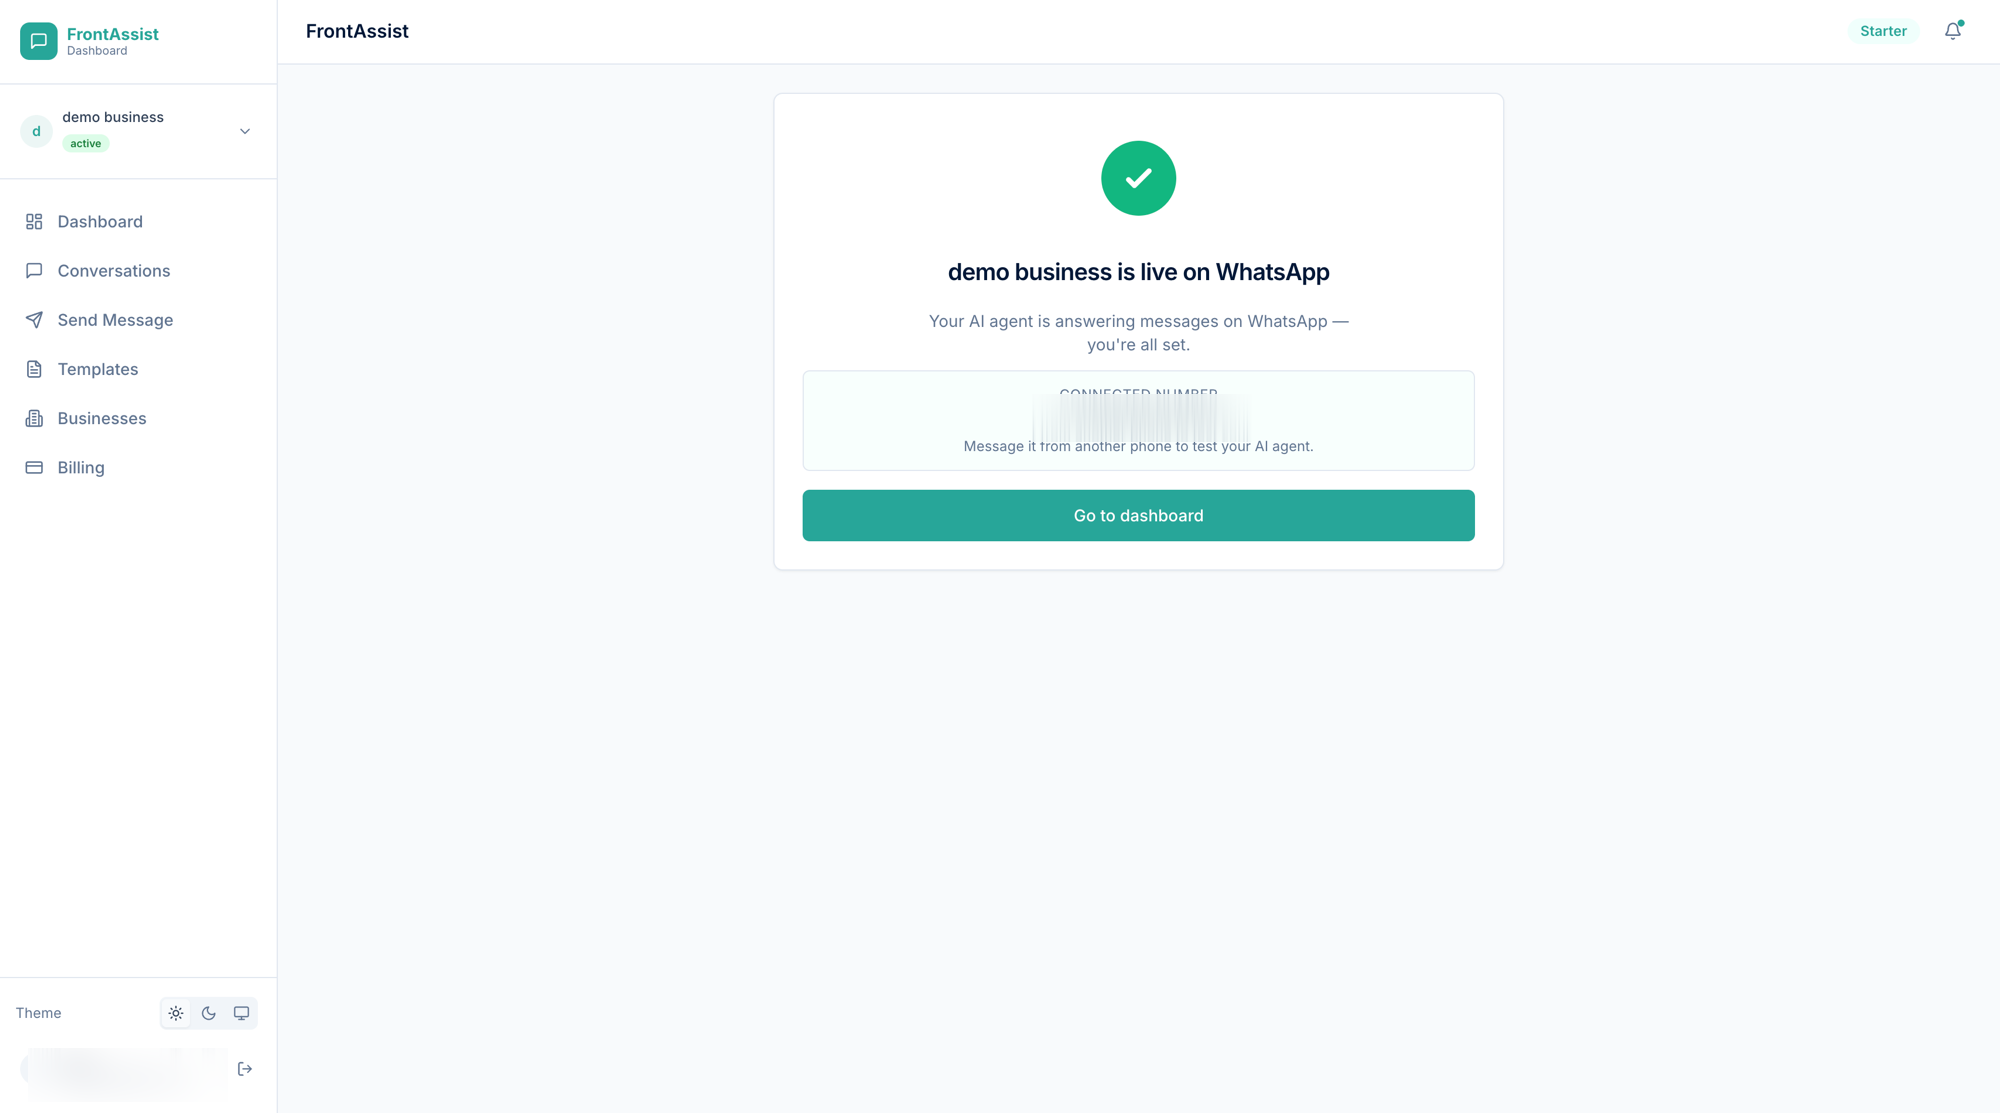
You’re live
Back in your dashboard, your business is now live on WhatsApp—your AI agent is answering messages. Message the connected number from another phone to see it in action.
Next: The Dashboard →